Workgroups / Teams - Mobile Interface
 Updated
The workgroup name that shows up in the primary navigation is configured during your site setup. The tab may be called Teams, Crews, Locations, or any term that aligns with your schedule implementation. For this article, we are using Teams as the workgroup name. So when you see Teams in the documentation, this term may be different for your implementation but the concepts are the same:
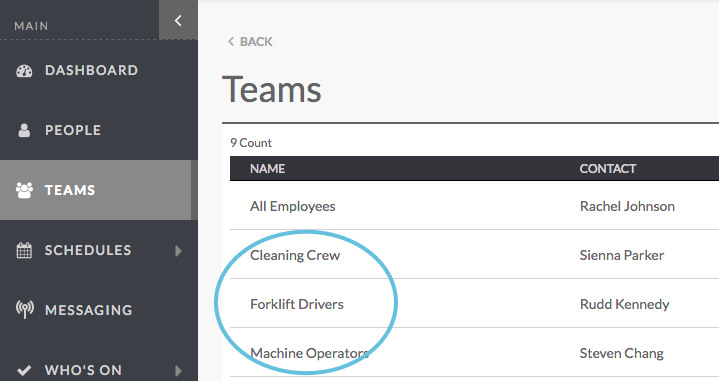
Teams allow you to group people together for ease of scheduling and communication. People are often put in teams by location, event, or type of work. For example, separate teams can be created for the cleaning crew, forklift drivers, and machine operators. This allows managers to more effectively schedule and communicate information. For example, when publishing shifts for the cleaning crew, notifications can be sent only to the people who are assigned to the Cleaning Crew team:
Viewing Teams
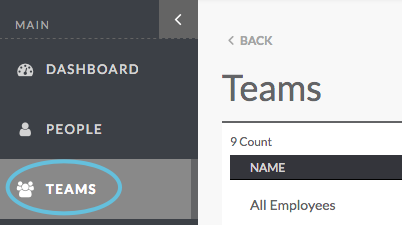
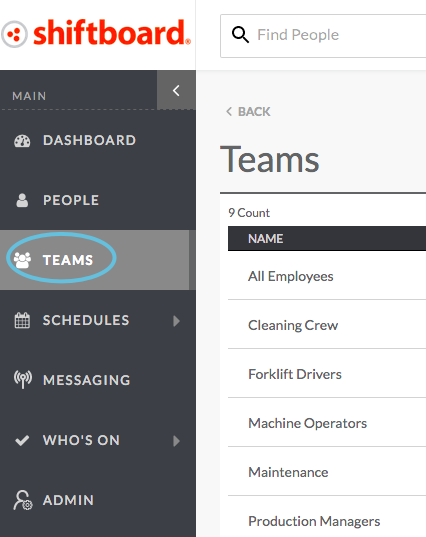
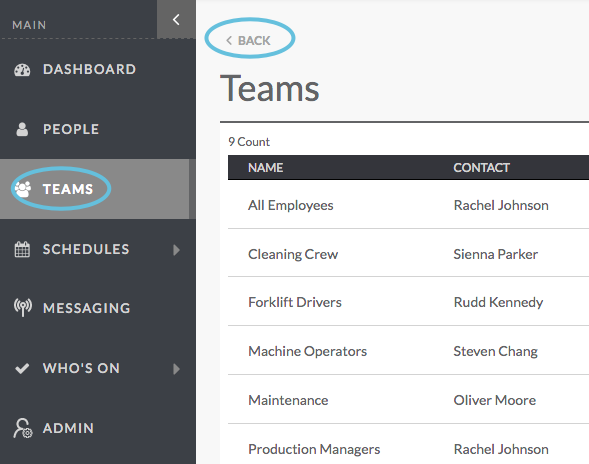
Teams are accessed from the left navigation bar:
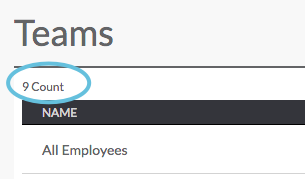
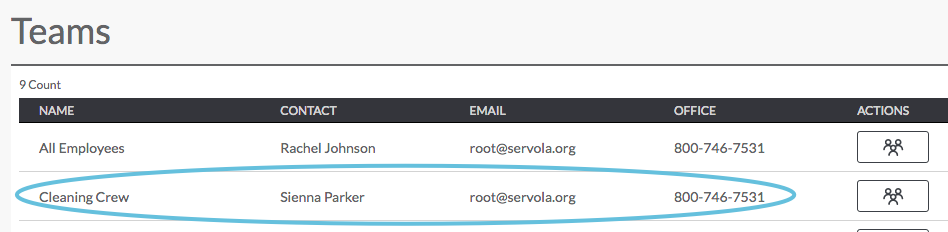
The Teams page lists each team in alphabetical order. The total number of teams in the list is shown in the top left corner:
A primary contact person is listed for each team:
To return to the Teams page, click Back at the top of the page or Teams in the left navigation bar:
Viewing Team Details
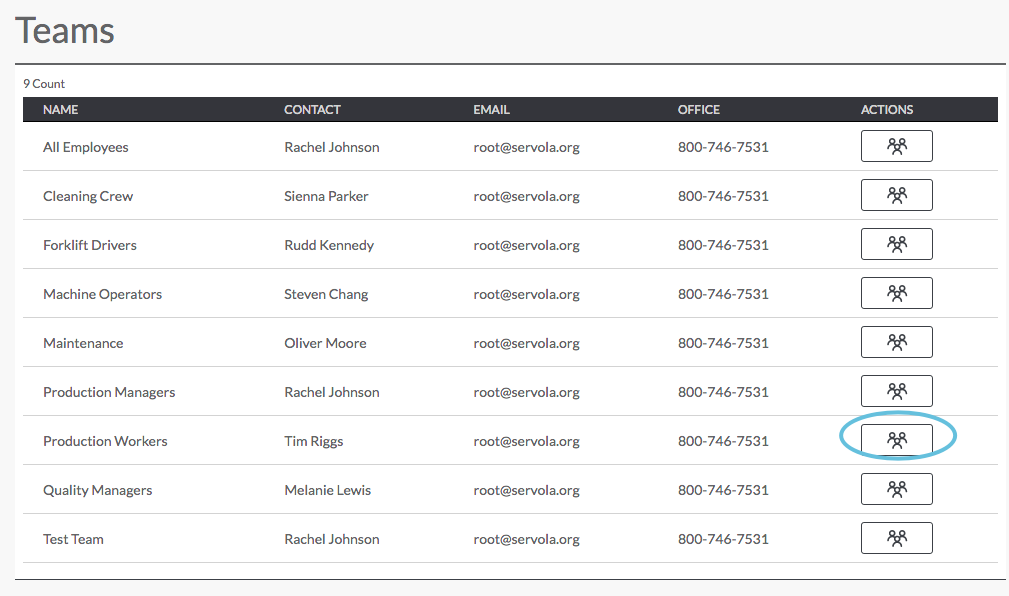
To view details for a particular team, select the Teams tab, click the icon on the far right:
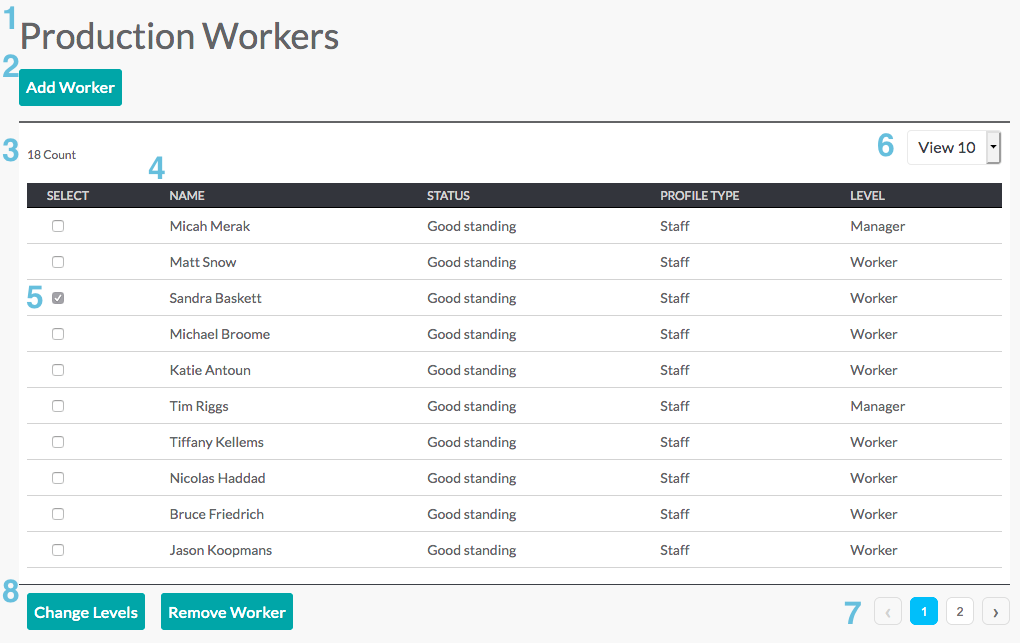
- Workgroup (team): The workgroup name is listed.
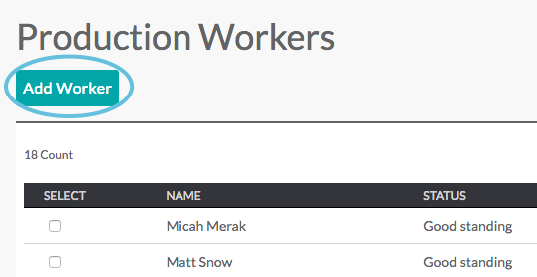
- Add Worker: Click to add a person to the team.
- Count: Shows the total number of people on this team.
- People: Lists each person in the team, including name, status, profile type, and level (i.e. manager, coordinator, worker).
- Select box: Selects the person, allowing you to change their level or delete them from the list.
- View: Use the drop-down list to select how many people to view per page.
- Page: Navigation that takes you to the next or previous page to see more people.
- Action buttons: Become enabled after you select one or more people from the list.
- Remove: Removes the person or people from the team.
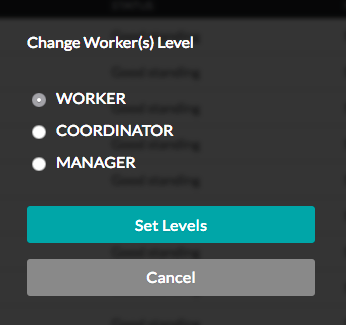
- Change Levels: Opens a new page that lets you select a different level (e.g. promote someone who was a worker to a coordinator).
Adding People to a Team
You can add one or more people to a team.
From the team details page, click Add Worker:
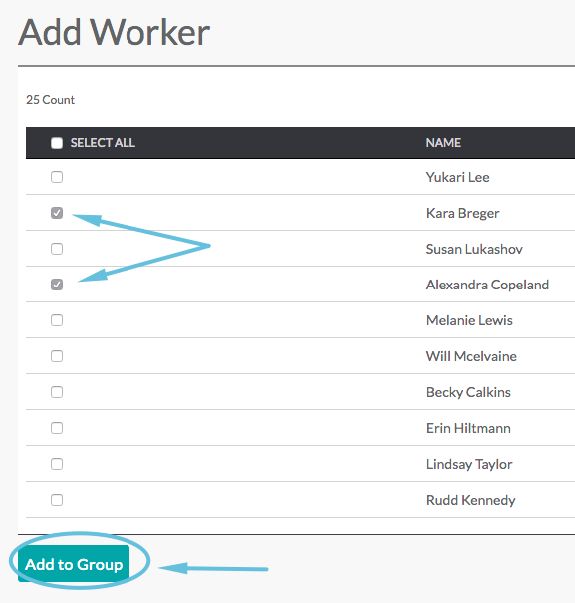
From the Add Worker page, select one or more people from the list, then click Add to Group:
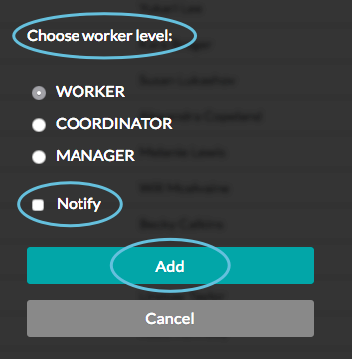
Select a level and check the Notify box (optional), then click Add:
Note: If you select the Notify box, then workers will be notified that they have been added to the workgroup (team).
After clicking Add, you will be returned to the Add Worker page. A message saying that you successfully added a new worker will briefly appear at the top of your screen.