Saved Schedules
 Updated
Saved Schedules
Permissions Req.
- Site Administrators
- Schedulers
- Manager
- Coordinator
The Saved Schedules Tool allows sites to create standardized Shifts that can be uploaded quickly to the Calendar. This tool will be most helpful for sites that have the same Shifts week over week.
To begin, sites will need to reach out to Customer Support for assistance with enabling.
Once the tool Saved Schedule Tool has been enabled, you can begin creating your save list.
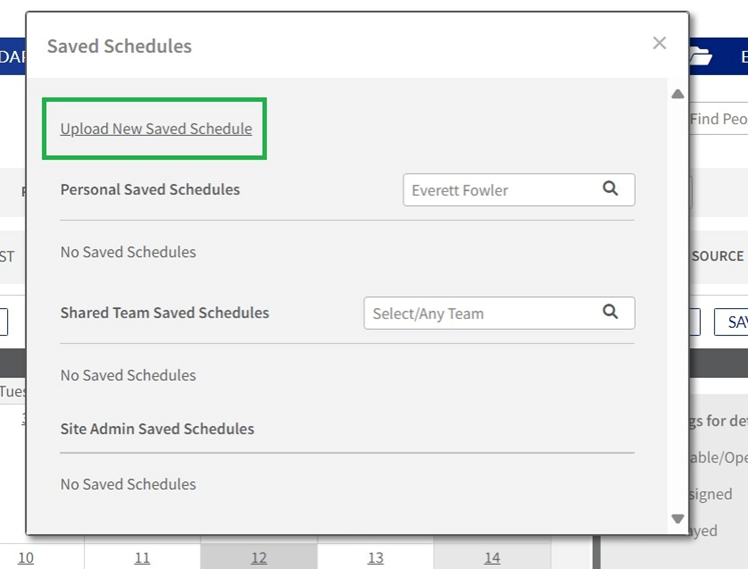
To access the uploader, go to Calendar>Add>Use Saved Schedules
Initial Setup
Once the Tool has been enabled, sites will be able to upload their schedules.
After accessing the uploader, you will want to select Upload New Saved Schedules
On the next page will be a list of templates that will be used to create the Shifts. Each option will give you additional fields to add your Shift data if required. After filling out the template, you will need to upload it to the site.
First, you will want to create a title for the Saved Schedule. Next will be who the Shifts are for (access dependent on Permission Level). Once a name and who the Shifts are for has been selected, you will choose the file and validate the Schedule.
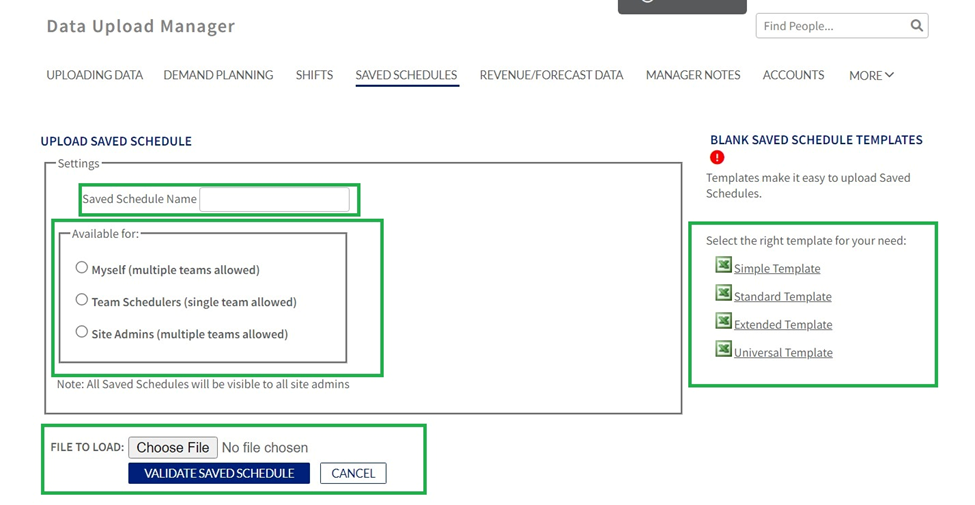
Available for selection
· Myself – This will allow for creating your Account Save Schedules
· Team Schedulers – This will allow creating Individual Team Saved Schedules
· Site Admin – This will allow for creating Saved Schedules across the entire platform
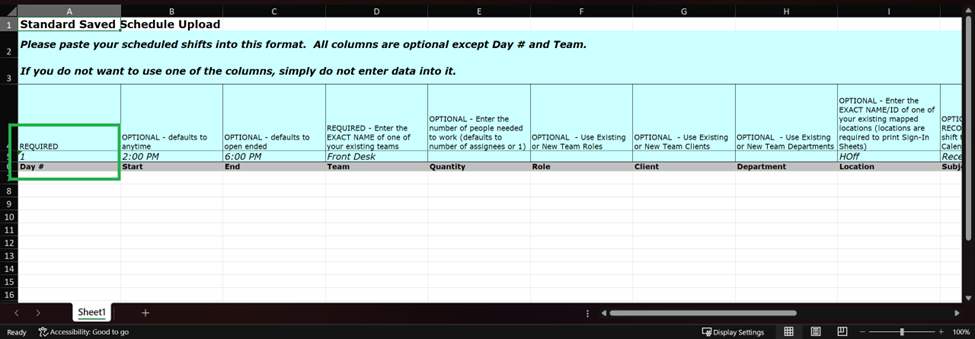
Template notes
It is important to note that the Save Schedule templates do not use dates. Column A will represent the day the Shifts based on the start date when adding existing Saved Schedules.
Example
· In column A you have Day "1" in the first row and Day "3" on the second row
· When applying the saved schedule to the 19th
· The first shift (Day 1) will show on the 19th
· The second shift (Day 3)will show on the 21st
Adding Existing Saved Schedules to Calendar
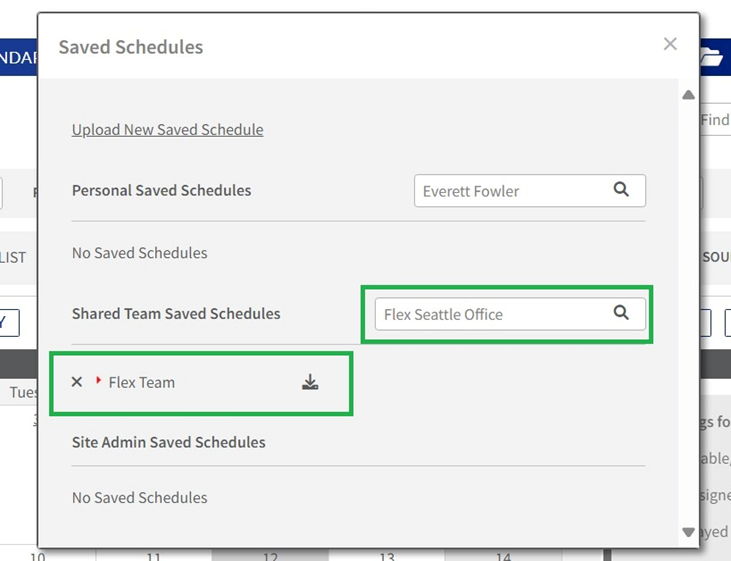
To add an existing Saved Schedule, access the uploader by going to Calendar>Add>Use Saved Schedules.
On the pop-up, you will now have the option to add the previously uploaded Schedules. You will have the option of picking which type of Saved Schedule which can include Personal, Team, and Admin. Once you have selected from the drop-down list, all Saved Schedules will appear below.
To add this Shifts to the Calendar, simply click the template name. If you would like to remove any templates, click the X, and if you would like to confirm what is on the template, click the download button.
After choosing the template, you will have the option to choose what day the Shifts will start and any additional Assignability Preferences.
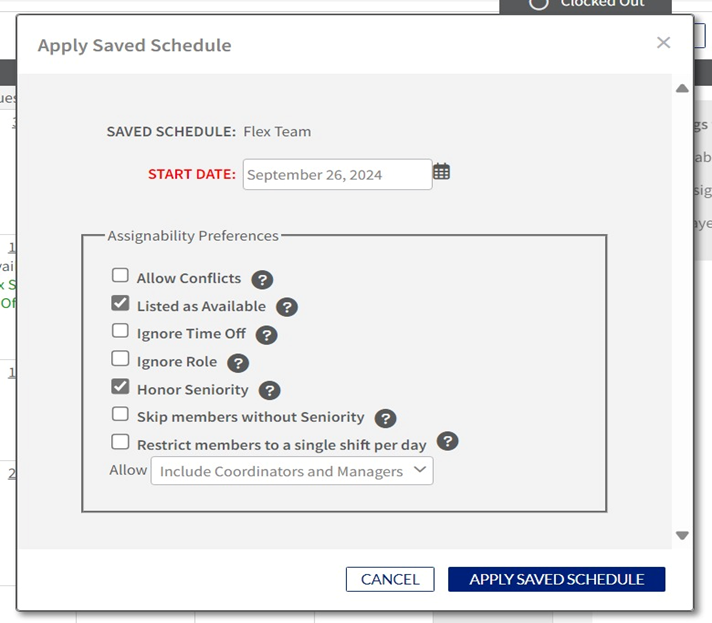
*Important Note
Applied Shifts will be Unpublished when saved. Schedulers will need to Publish once posted to the Calendar.
For more information on bulk actions, please see our Bulk Shift Actions help article.
Enabling Saved Shifts
If your Site is not currently using Saved Schedules, please contact Support at support@shiftboard.com